While I was chatting with a friend on a rainy day by a pool, we tried to think of a way to simulate the drops and the waves on the surface. Then we get into the source of rain, the clouds. Then the topic came to the way Horizon Zero Dawn rendered its clouds. We had an understanding, but we needed the practical experience to create it from scratch. Then we, three colleagues, found ourselves in a competition for creating the best cloud in a virtual scene. After a long break from writing blog posts, I decided to write about my first steps into volumetric rendering.
Using DirectX12 HLSL Shader Reflection
Before moving to volumetric rendering, I want to say some things about the graphics API. I used DirectX12 to implement this project. Normally, I use Vulkan in my job, however, I had a chance to experiment with some DirectX12 codes while working with Unreal Engine. I think it ended up being a great project to learn the counterparts of the commands from the Vulkan. While implementing the project I want to experiment with shader reflection to ease the root signature creation process, and came across a good introduction by Tarun Ramaswamy which I recommend if you want to get into how to reflect HLSL code using DXC (DirectX Shader Compiler). You can check out my implementation of the volumetric rendering and shader reflection code from GitHub.
Volumetric Rendering
We treat rendering volumes differently than we handle our classic triangle meshes, but why? In the case of rendering triangles, we just render the surfaces of the three-dimensional shapes which are hollow. We model the objects in that way from the real world, because it’s easier to work with and we can’t see the inside of them anyways. However, this idea of treating everything as a surface kind of fails in volumes like smoke, clouds or fires. In essence, volumes like these are just a group of particles hanging out together. The light bounces from the particles and where the particles are high in density, less light comes from behind of them.
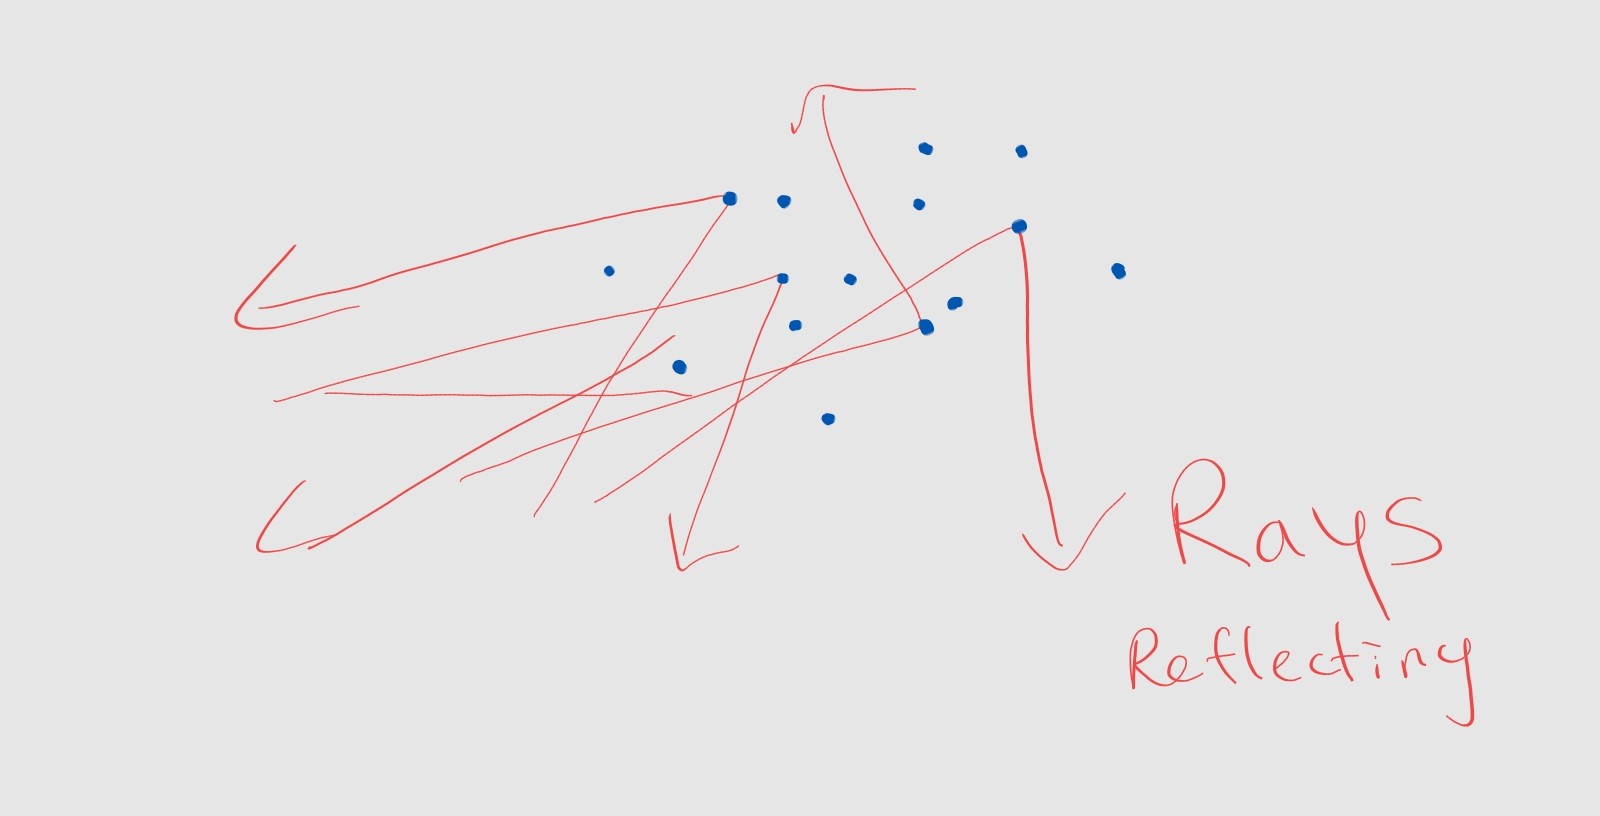
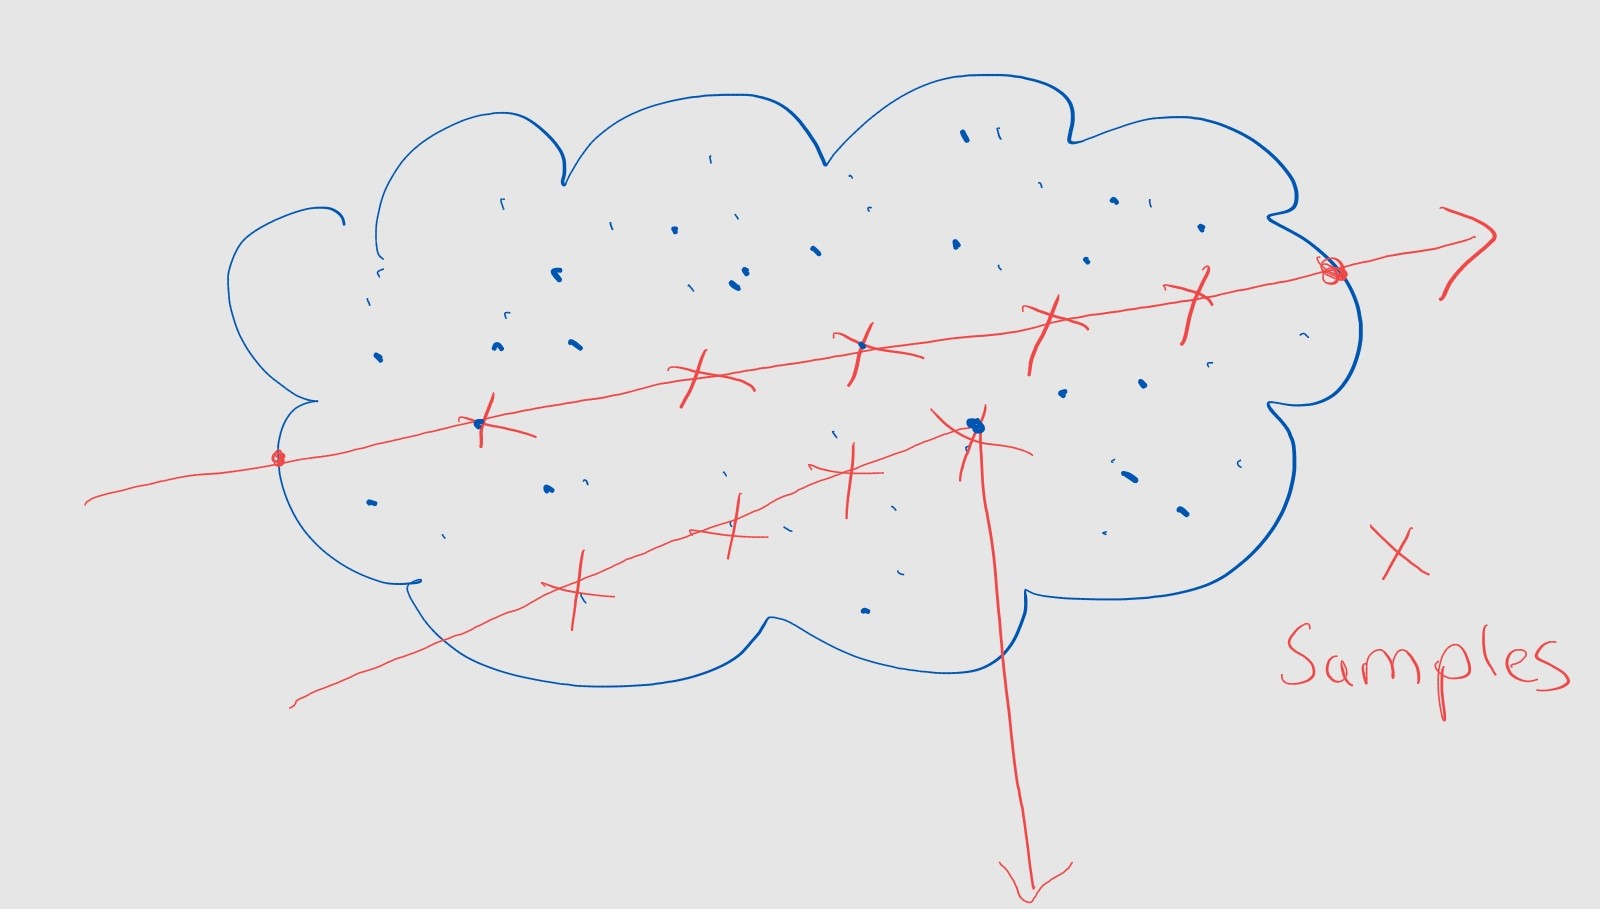
To render these volumes, we can use several methods. First, we can simulate each ray of light and scatter them inside the volume, and when we have lots of samples and bounces (path tracing), we will have a realistic-looking volume. However, besides from the beautiful outputs, this method is hard to achieve in real time. For a start, we can drop the lights and we can just simulate how much of the background we can see from the particular view area, in the smallest case from a particular pixel. We just need to calculate how dense the particles from our eye to the objects in the scene. We can use the ray marching for it.
Ray Marching
Ray marching can be summarised as starting from the camera and moving towards a direction in small steps accumulating the light which will get smaller as it moves far away. In the case of volumes, we need a way to check how much light passes from a particular point in the volume. We can store this data in the memory with custom data structures designed for it (i.e. OpenVDB, NanoVDB). In this case, we will randomize the density for a point in a cloud trying to get a realistic-looking one.
Randomness and Fractal Brownian Motion
We need a function that will generate a random floating point number for each 3D point. We can use a trilinear interpolation method on a basic hash function to have some kind of continuity in 3D. However, this won’t be good enough or will look realistic enough for a cloud. This is where Fractal Brownian Motion kicks in, in the most basic sense it smoothes the randomness with self-similarity. You can check Inigo Quilez’s great article about the topic if you want to deep dive.
The rest is simple, We just accumulate the random values toward our direction and accumulate them with alpha values in mind.
Ray marching in a Forward Pipeline (Depth Passes)
While I was watching Cem Yuksel’s lecture on Volume Rendering, the idea of implementing this method with a pixel shader was discussed. This suggests that we can find where we can place the volume (where the ray enters and exits) from the depth value of the scene. After hearing it, I constructed a plan in my head. I will add two parallel passes after rendering the scene, one with the front faces culled of the mesh which we will place the volume, and one with the back faces culled. However, for the enter and exit depths, we need to have the depth values of the scene beforehand because we may end the volume or not start the volume. This happens when some mesh is inside the volume or the mesh is closer to the camera than the volume in that particular pixel.
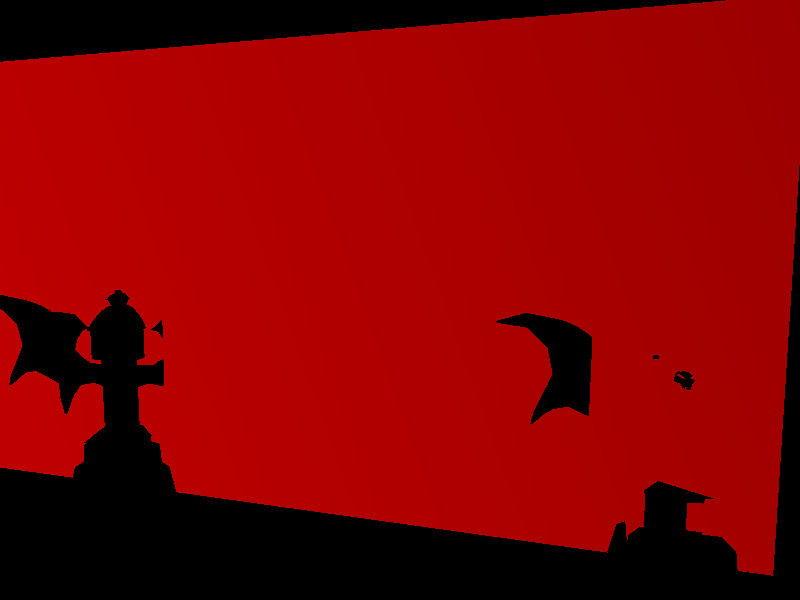
Back face culled depth buffer for entry points.
Front face culled depth buffer for entry points.
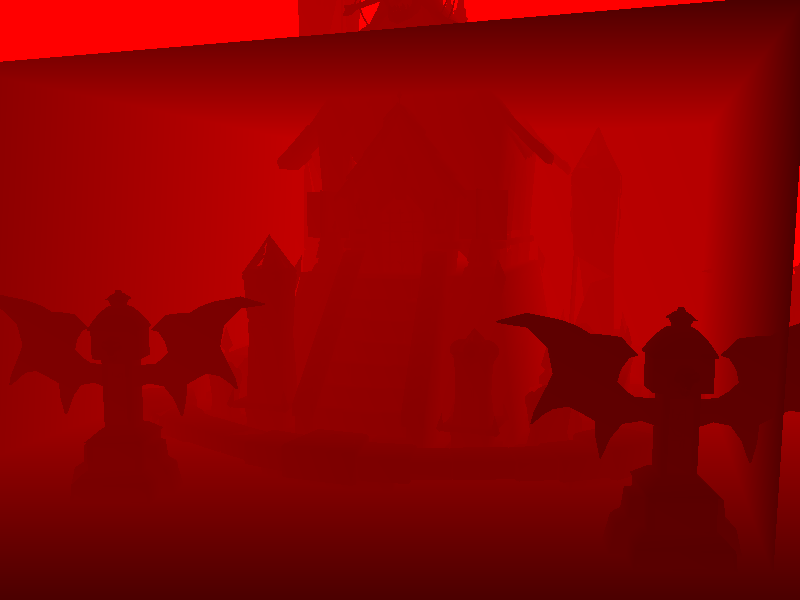
After these passes, we need to render the volume in our final pass which we can think of as a full-screen post-process pass. For each pixel, if there is a volume starting in the direction, we will start sampling density values with small steps until we exit the volume. We blend the resulting density concerning alpha to get our final results. In my example, I created a foggy graveyard hoping it may get scary.
Result and Future Work
In the end, I have a scene filled with nice fog clouds wandering around. However, the lighting is not present for the meshes and the volume itself. I wanted to implement it but, I am too impatient to start my new adventure which is to create a particle renderer. I thought I will inspect the lighting for the volumes and particles there anyway so I skipped these topics on this project. I am happy with the result and if you want to check it out you can reach it from my GitHub repiository.
References
Quilez, Inigo. fBM - 2019. https://iquilezles.org/articles/fbm/
42yeah. Raymarching Clouds. Of Shaders and Triangles. https://blog.42yeah.is/rendering/2023/02/11/clouds.html
Yuksel, Cem. Interactive Computer Graphics Course Videos. https://www.youtube.com/watch?v=y4KdxaMC69w